Microsoft in the News - Azure Functions
On February 23,
Microsoft announced preview support for the Azure Functions Serverless
Framework plugin. Azure Functions allows
you to easily run small pieces of code (“functions”) in the cloud. Using Azure Functions, you can quickly write
the code you need, without worrying about the application as a whole. The language you choose to write your code in
can be C#, F#, Node.js, Python, PHP, batch,
bash, or any executable.
Azure Functions is designed to be a
solution for processing data, integrating systems, working with the
internet-of-things (IoT), and building simple APIs and microservices. Tasks like image or order processing, file
maintenance, or for any tasks that you want to run on a schedule are easily
tackled using Azure Functions. It is
also easily integrated into Event Hubs to extend your functionality.
If you are interested
in learning how to use this tool, Microsoft has created an Azure Functions Code
Challenge. Follow the link below and
then log into your Azure account. The
Challenge will take you through a series of problems that will test your coding
skills as you learn to build solutions in Azure Functions.
Azure Data Catalog –
Information panel Tabs
In my last post, I
looked at the details pane. The focus
was on the properties panel. There are 4
additional panels in that pane. Let’s
take a look at them.

Properties Preview Columns Data
Profile Documentation
When viewing any of
the panels you can hover your mouse over the edge of the panel on the left
where it meets the main tile space until you see a double arrow “<->”.
You can use this to adjust the size if the panel.
The Preview pane is
just as the name implies, a preview of the data that is in the asset you have selected.
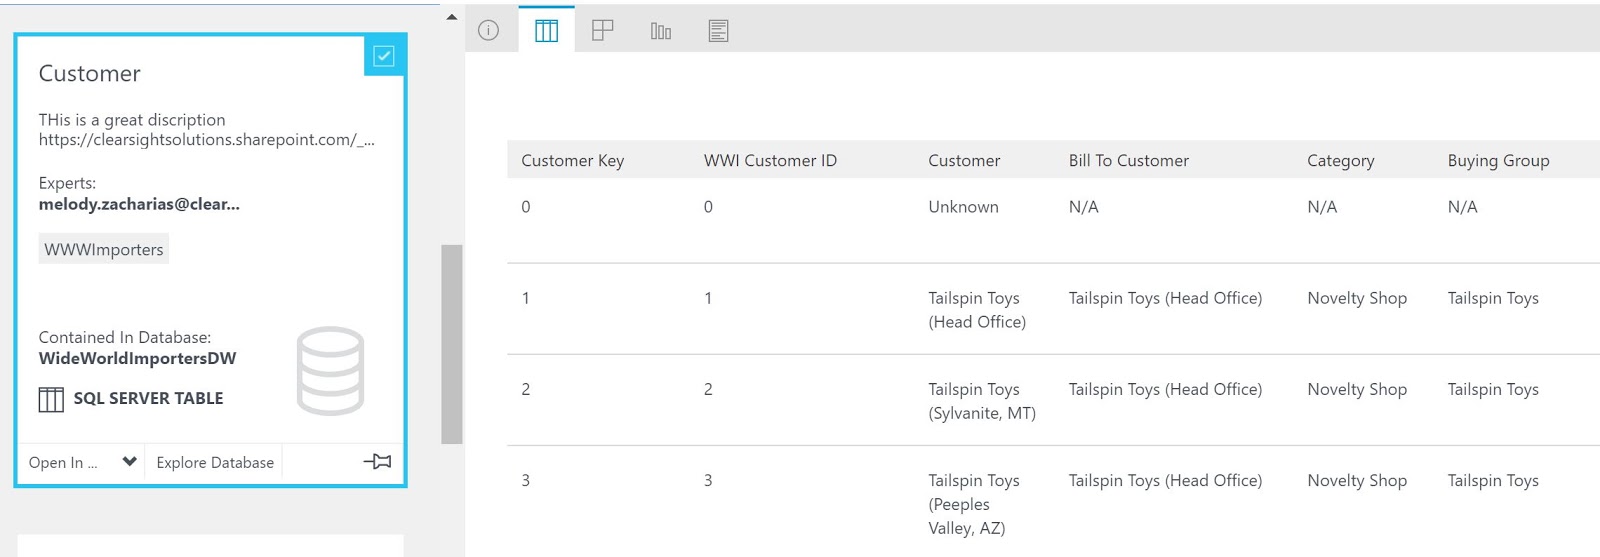
This pane allows you
to view the data that is in the asset. I mentioned before if you do not have
security access to the underlying data then you will not be able to see the
data here. This is a view only screen
and you can not enter any data.


The Profile panel contains additional meta data. (Reminder: meta data is data about data.) In the case of our Customer Asset this shows some details and even some statistics about the data. It describes what is in the table. This can be very useful, particularly to those who do not have permission to view the actual data. The Top row of details describes the table with details such as;
- Number of Rows – how much data is in the table
- Size – how much space it takes up on disk
- Last data update - the last time the data in the table was updated
- Last Schema Update - this is when the last structural change was made to the table, so for example a column was added or the size of a column was changed.

 |
| Creating Tables |
 |
| Adding Hyper Links |
If your organization
already has a start on the documentation for an asset, it is reassuring that it
can still be referenced and used by linking to it here, making all
documentation easier for everyone in the organization to find.
Now that we are
familiar with what asset information we have we can move onto searching this
information, which I will cover in my next blog.
No comments:
Post a Comment